

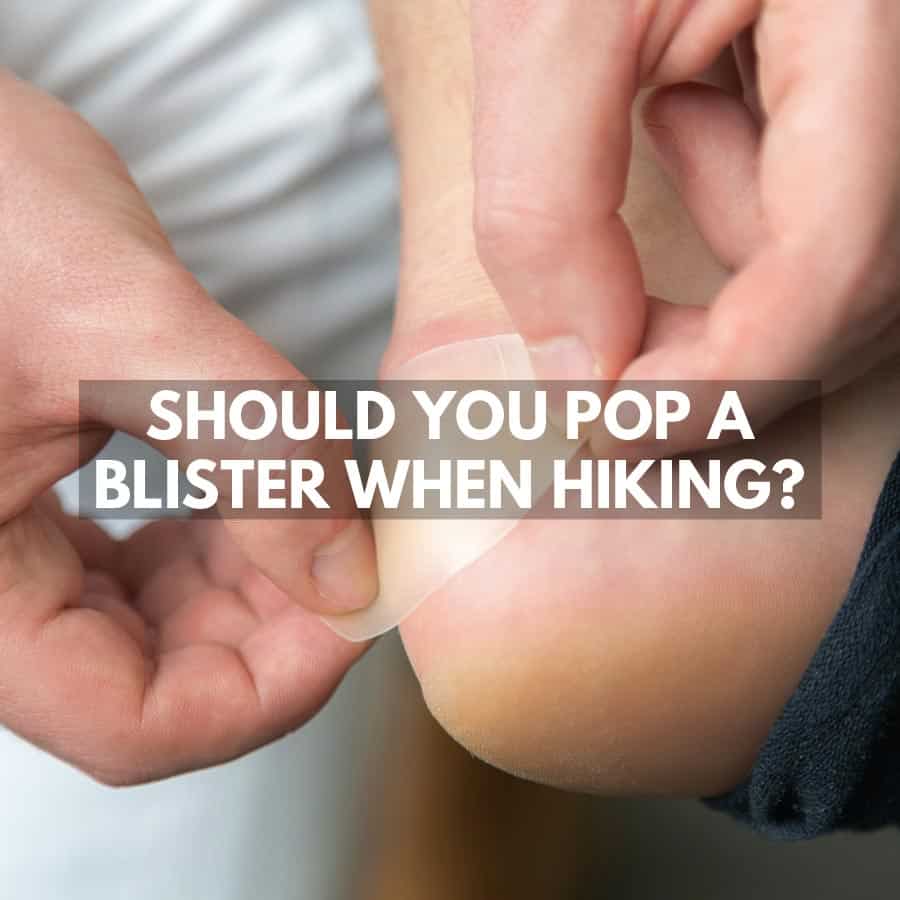
Should You Pop a Blister When Hiking?
If a hiking blister is small, manageable, and unlikely to burst, I normally leave it intact and protect it. If it has become large, painful, or is obviously going to burst inside my boot as I continue walking, I would rather drain it carefully under controlled conditions than let it rip open by itself.
I’ve dealt with plenty of blisters while hiking, and I think the decision becomes much easier once you stop looking at popping every blister as either completely right or completely wrong.
The skin covering a blister is there for a reason. It protects the raw skin underneath from dirt and bacteria, which is especially useful when your foot is going straight back into a sweaty hiking boot.
But there are also times on a long hike when a large blister is under so much pressure and friction that leaving it alone isn’t particularly realistic.
My general approach is:
- Small blister that isn’t causing much trouble: protect it and leave it alone.
- Hot spot that hasn’t blistered yet: stop immediately and deal with the friction.
- Large or painful blister that I can protect: try to leave it intact.
- Large blister that is obviously going to burst while I continue walking: I would rather drain it cleanly myself and leave the skin covering intact.
The important distinction is between draining a blister and ripping the skin off.
I never deliberately remove the skin covering a friction blister.
QUICK ANSWER
Leave it alone: Small, intact blisters that aren’t stopping you walking.
Consider draining it: A large, painful friction blister that is likely to burst anyway.
Most important: Keep the skin covering intact, clean the area, protect it from further friction, and watch for infection.
Best solution: Catch the problem while it is still a hot spot and prevent the blister forming at all.
What Causes Hiking Blisters?
A hiking blister forms when repeated friction and shear cause layers of skin to separate and fluid collects in the gap.
Footwear is usually at the centre of the problem, but several things can contribute:
- New footwear that hasn’t been properly tested
- Boots or shoes that are too small
- Footwear that is too loose
- Heel movement inside the boot
- Poor lacing
- The wrong socks
- Moisture and sweaty feet
- Sand or grit inside your footwear
- Ignoring a developing hot spot
Even with the best hiking boots, good socks and proper foot care, you can still develop a blister if you walk far enough.
Your feet swell, sweat increases, terrain changes and small areas of rubbing can become much more significant after thousands of steps.
This is why noticing the problem early makes such a difference.

When I Would Pop or Drain a Hiking Blister
I treat draining a blister as a last resort rather than something that needs doing automatically.
Most of the time, if I can protect it and continue walking reasonably comfortably, I leave it intact.
Where things change is when the blister becomes so large or badly positioned that every step is putting more pressure on it.
If I’m convinced it is going to burst inside my boot anyway, I would rather control when and how that happens.
That lets me:
- Clean my hands and the blister first.
- Use a clean or sterile needle.
- Control where the blister drains.
- Leave the protective skin intact.
- Dress it properly afterwards.
I also prefer dealing with a blister at the end of the hiking day where possible.
At camp I can take my time, clean everything properly, let my feet dry and then keep the area protected overnight.
That’s much better than discovering half an hour later that the blister has torn itself open inside a dirty, sweaty sock.
When I Wouldn’t Pop a Blister
If the blister is small and isn’t really bothering me, I leave it alone.
The intact skin is basically your body’s own blister dressing.
I would also avoid draining one halfway through a hike if I didn’t have a reasonably clean way of doing it and protecting it afterwards.
Other reasons I would leave it alone include:
- It isn’t getting noticeably bigger.
- I can remove the source of friction.
- Tape or padding makes it comfortable enough to walk.
- I don’t have clean socks or dressing materials.
- I’m close enough to the end of the hike that I can deal with it later.
Location matters too.
A blister beneath the sole of your foot can be particularly awkward because you’re putting your full body weight over the area with every step.
Sometimes protecting and padding around the blister is much more comfortable than draining it.
Benefits of Draining a Large Friction Blister
The main benefit is relieving pressure.
A large fluid-filled blister can become extremely uncomfortable inside a tightly fitting boot.
Drain some of that fluid and the blister becomes flatter, which can make it easier to protect from further friction.
The other advantage is control.
If I know a blister is almost certainly going to burst during another ten miles of hiking, I’d rather deal with it while:
- My hands are clean.
- The skin has been cleaned.
- I have a sterile needle.
- I have proper dressings available.
than have it rip open randomly inside my sock.
The important thing is keeping the roof of the blister in place.
That loose-looking skin is still providing protection to the tender skin underneath.
Risks of Popping a Blister Outdoors
The obvious risk is infection.
Your feet are warm, sweaty and enclosed inside footwear for hours, which isn’t exactly the cleanest environment for an open wound.
Once you pierce the blister, bacteria have a potential route through the skin.
There is also the possibility that removing the fluid makes the raw area underneath more painful when you’re putting pressure on it.
This is why I don’t subscribe to the idea that every hiking blister should immediately be popped.
If the body’s natural protective layer is still doing its job, I’d rather preserve it.
How I Drain a Hiking Blister
If I decide a friction blister genuinely needs draining, this is how I do it:
- Clean my hands and the area. Soap and clean water are ideal. I also clean around the blister before touching it.
- Use a sterile needle. If I’m carrying a first aid kit, this is much easier to do properly than improvising with something dirty.
- Puncture near the edge of the blister. I make a small opening towards the edge rather than destroying the centre of the skin.
- Gently drain the fluid. I don’t rip or peel the covering skin away.
- Keep the blister roof intact. This continues protecting the tender skin underneath.
- Clean and cover it. I use a clean non-stick dressing, blister dressing or suitable protection.
- Reduce the original friction. There isn’t much point draining a blister and then immediately recreating exactly the same rubbing that caused it.
Current dermatology guidance follows essentially the same principle when a large painful blister needs draining: clean the area, pierce close to an edge with a sterilised needle, drain the fluid and leave the overlying skin intact. :contentReference[oaicite:1]{index=1}
Don’t Cut the Skin Off
This deserves its own section because I think it’s one of the easiest mistakes to make.
Once a blister has drained, the skin covering can look completely useless.
It isn’t.
I leave it in place.
That layer protects the raw skin underneath from your sock, boot, grit and bacteria.
Eventually it will dry out and the damaged skin will naturally separate as healthier skin forms below.
Immediately peeling it off just leaves you with a much larger exposed area.
How to Protect a Blister While Hiking
Whether I’ve drained it or not, the next goal is stopping the same area rubbing.
Depending on where the blister is, I’ll use:
- Blister plasters
- Moleskin
- Sports or medical tape
- A padded dressing
- Clean socks
- A change in lacing
For a raised blister, a donut-shaped piece of padding around the blister can work particularly well because it transfers some pressure to the surrounding skin instead of directly onto the blister.
Then I look at why it happened.
If my heel is lifting, I’ll change the lacing.
If my sock has bunched up, I’ll straighten or change it.
If the boot is full of sand or grit, I’ll clean it out.
Treating the blister without treating the cause just means you’re going straight back to rubbing the same damaged area.
Can You Hike With a Blister?
Yes, I’ve carried on hiking with plenty of blisters.
The question isn’t really whether you can walk with one.
It’s whether continuing is going to turn a manageable blister into something considerably worse.
A small protected blister may be little more than an annoyance.
A badly torn blister on the sole of your foot can make every step miserable.
If I can remove the friction and protect the area, I’ll normally continue.
What I don’t do is ignore increasing pain and hope it somehow gets better while I continue walking.
If you’re having to dramatically change the way you walk to avoid putting pressure on one foot, you’re also starting to increase the chances of creating another problem somewhere else.
When a Hiking Blister May Be Infected
This is the point where I stop treating it as an ordinary hiking inconvenience.
Things I would pay attention to include:
- Increasing redness around the blister
- Increasing swelling
- Heat around the wound
- Pus or cloudy drainage
- Pain that is getting worse instead of better
- Red streaking away from the area
- Feeling generally unwell
If a blister starts looking infected, especially if symptoms are spreading, it needs proper medical attention rather than another layer of hiking tape.
People with diabetes, poor circulation, reduced sensation in their feet or conditions that increase infection risk should also be considerably more cautious about treating foot wounds themselves. Mayo specifically recommends extra care for people with diabetes, poor circulation or a tendency towards infection. :contentReference[oaicite:2]{index=2}
Prevention Is Still Better Than Popping One
After all that, the best blister treatment is still stopping one before it forms.
A hot spot is your warning.
As soon as I feel that familiar warm rubbing sensation, I’ll stop, take the boot off and investigate.
Often the solution is ridiculously simple:
- Pull the sock straight.
- Remove a bit of grit.
- Adjust the laces.
- Dry the foot.
- Apply some tape.
- Add a little lubricant.
I’ve gone into this in much more detail in my guide to preventing hiking blisters.
Two minutes spent fixing a hot spot is far better than spending the rest of the day wondering whether you need to stick a needle into your foot.
So, Should You Pop a Blister When Hiking?
Most of the time, no.
If it’s small, intact and manageable, I protect it and leave the skin to do its job.
But hiking creates situations where the textbook answer isn’t always very practical.
If I have a large, painful friction blister that is under constant pressure and clearly looks like it is going to burst inside my boot anyway, I would rather drain it myself under clean conditions, keep the protective skin intact, dress it properly and address whatever caused the rubbing.
The mistake isn’t necessarily draining a blister.
The mistakes are popping blisters unnecessarily, ripping the skin off, using dirty equipment, failing to protect the wound afterwards, and then carrying on with exactly the same friction that caused it in the first place.
For long-distance hiking, the most valuable skill isn’t learning how to pop a blister.
It’s learning to recognise a hot spot early enough that you never need to.
Disclaimer: This article describes my personal approach to managing friction blisters while hiking and is not a substitute for individual medical advice. Seek medical help if a blister appears infected, is unusually severe, or you have a condition that makes foot wounds higher risk.




[…] Popping a blister when hiking should be a last resort and only if the blister is likely to pop on its own if left alone. Prevention is always the better option so that your blister can heal on its own without becoming infected. […]
[…] This makes them incredibly comfortable to wear for long periods of time and will rarely give you blisters on short hikes. If you own a pair of old boots that you have worn for years then you know what we […]